Skip to content

Solarium Kits Sanremo 10 ft. x 10 ft.

Structure color

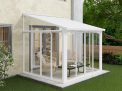
A chic solution that offers the best of indoor-outdoor living, the San Remo Patio Enclosure provides you with a space to enjoy the beauty of the outdoors with interior comforts, no matter the season.

Made with 100% recyclable materials, the Sunroom features high impact crystal-clear acrylic wall panels giving you a pristine view of your surroundings. The white or grey powder-coated aluminum frame of the Garden Chalet is reinforced and corrosion-resistant for durability and the screw-free roofing system is specially developed to prevent leaks, making the solarium as functional as it is beautiful.

Three lockable double sliding doors (with included master key) safeguard your new space, provide several easy access points, and guarantee your view from every vantage point even when closed. Integrated gutter heads, drainage, and a sturdy aluminum base are included.

From stargazing to entertaining, you can do it all in your new year-round indoor-outdoor space. Expand your home and extend your patio use with the San Remo Garden Building.

  • Indoor-Outdoor Design: Enclosed white gazebo merges house and garden
  • Durable Aluminum Frame: Aluminum is a strong, lightweight, and rust-resistant metal with a high strength-to-weight ratio.
  • Built-In Gutter: Adjustable gutter heads channel rainwater for effective water drainage.
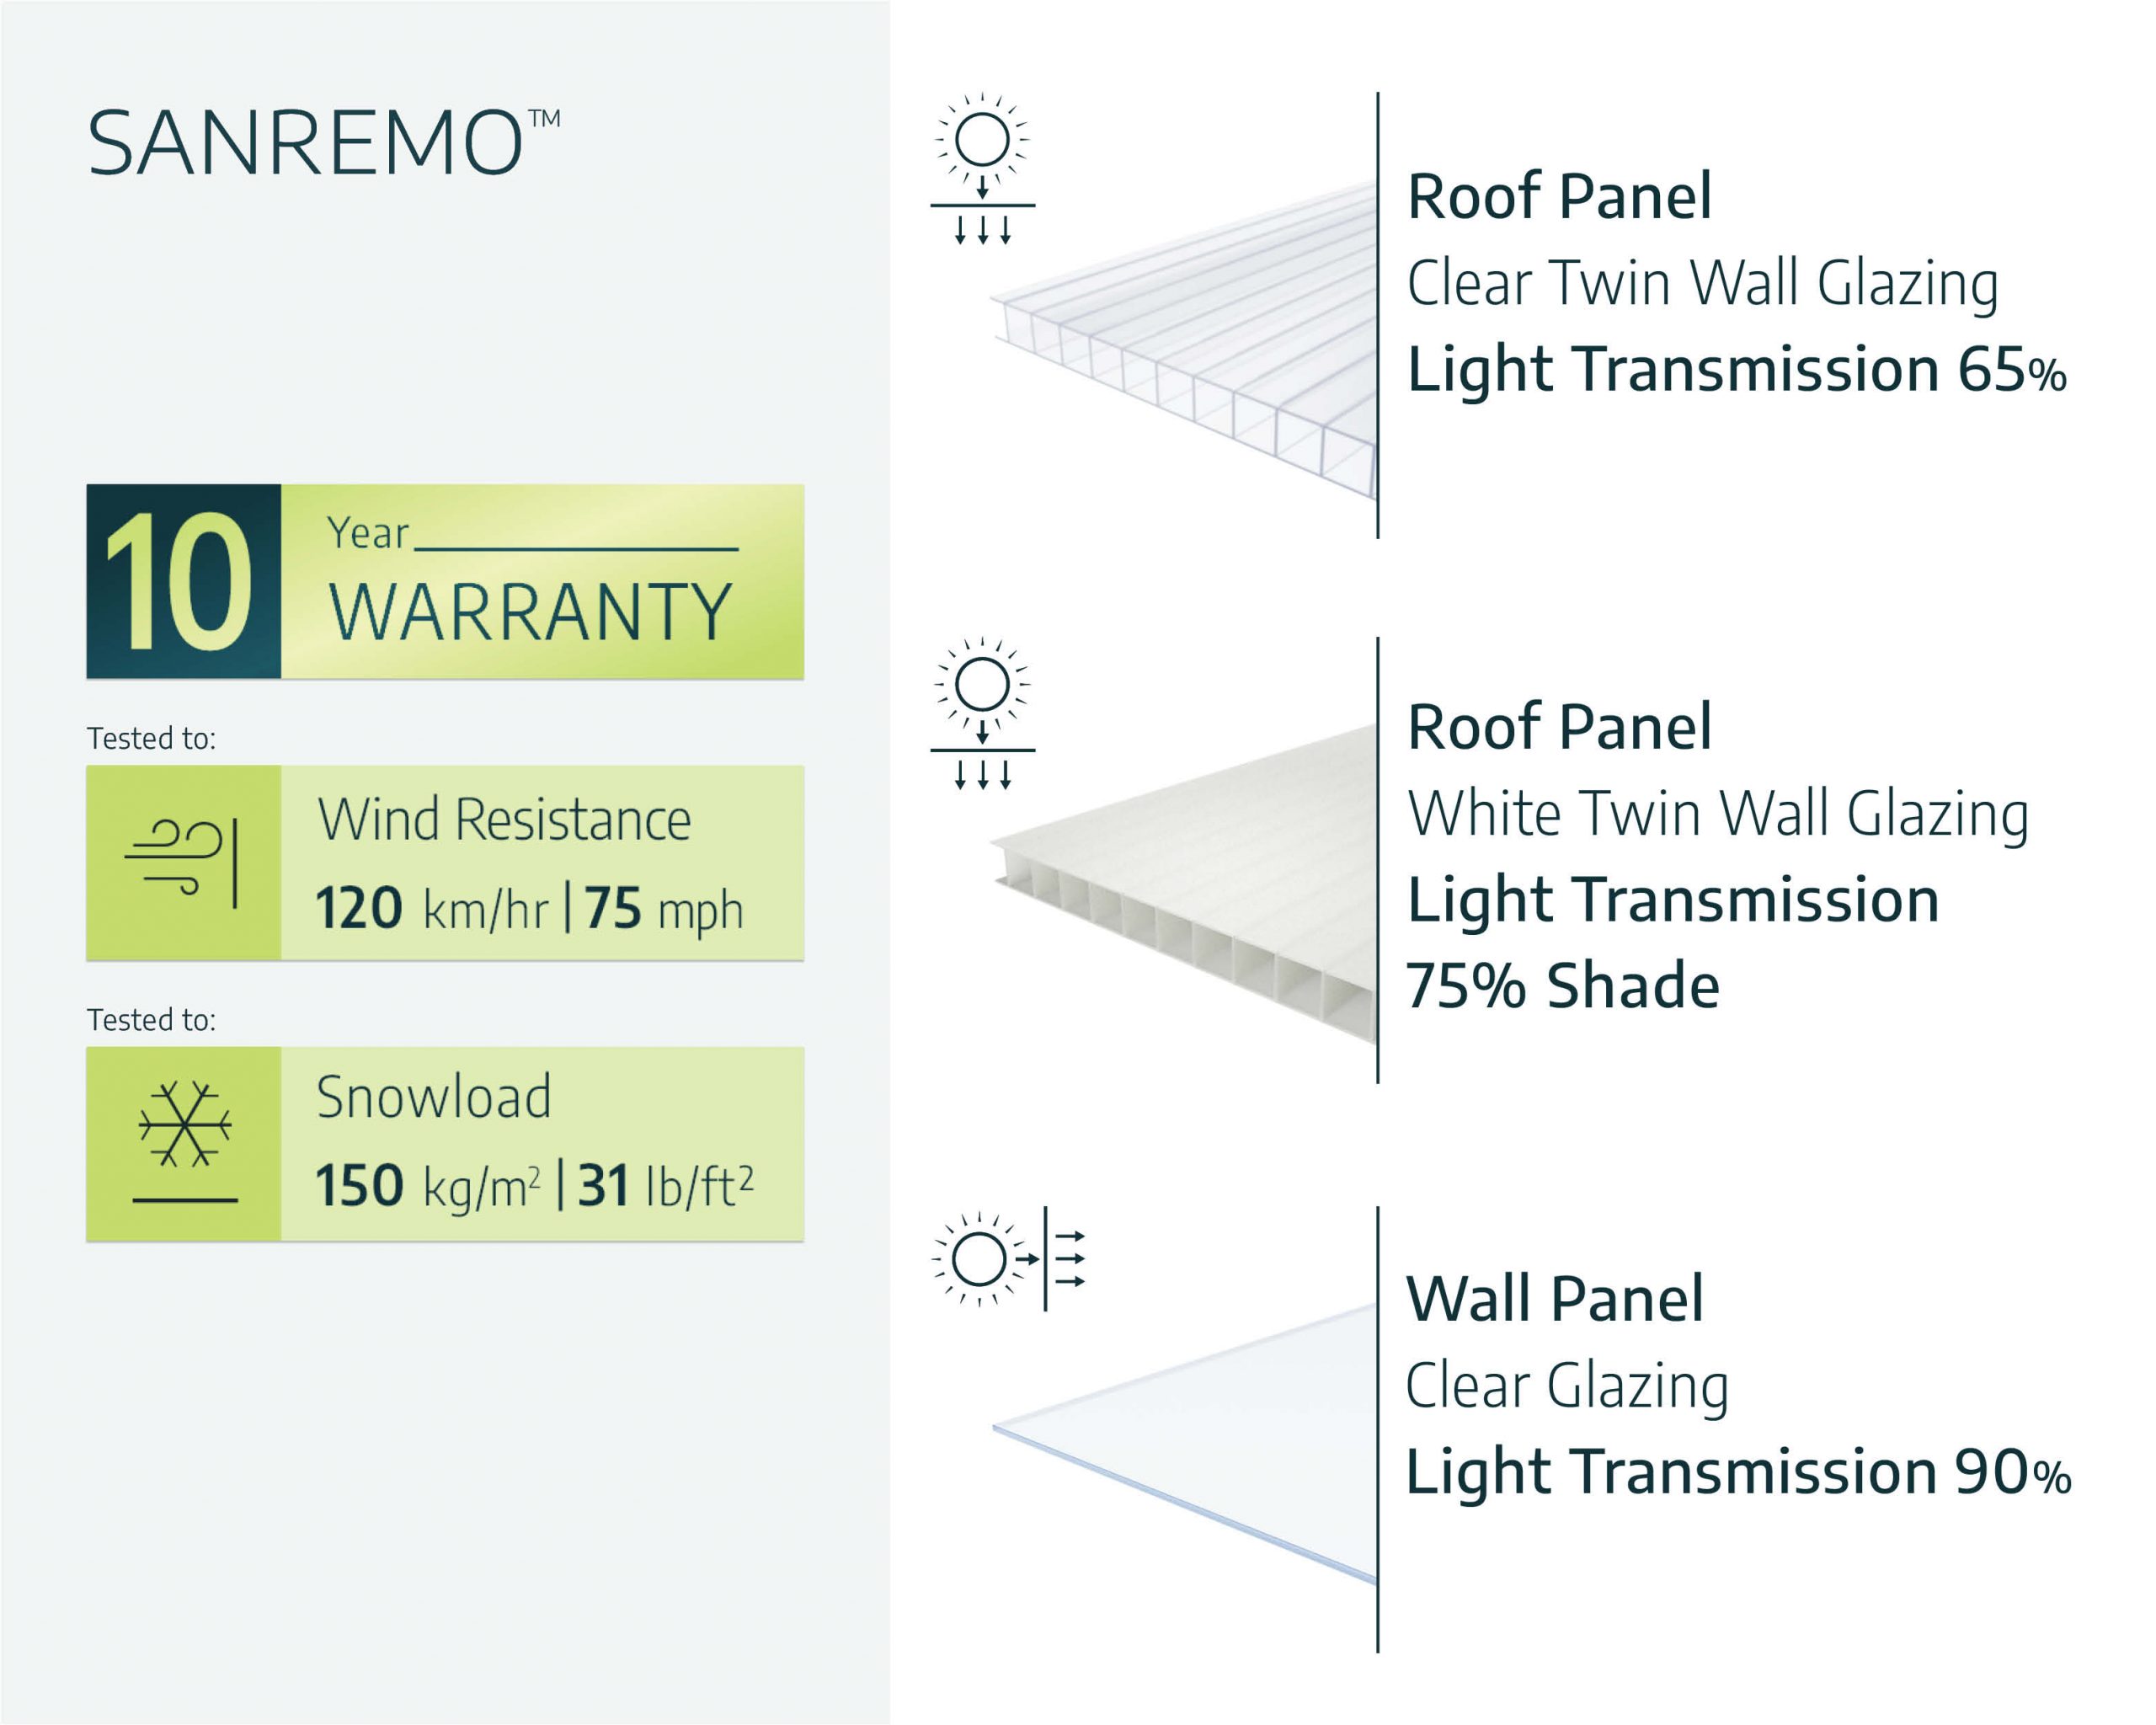
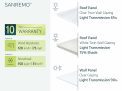
  • Click N’ Lock Roofing System: 8mm panels don’t use any screws, preventing leaks. Light Transmission: UV-resistant, heavy-duty twin-wall polycarbonate roof panels transmit natural sunlight on overcast cloudy days but provide shade on sunny days.
  • Resilient Panels: 3mm thick high impact acrylic walls are crystal-clear, easy to clean, maintain 90% light transmission and are resistant to harmful UV rays. They are also safer and easier to assemble than glass.
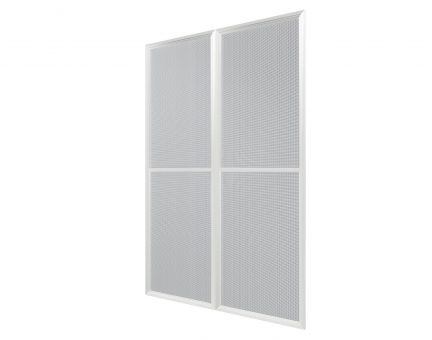
  • Three Doors: Lockable sliding doors with master key included give easy access and the ultimate view and ventilation.
  • Year-Round Weather Resistance: Wind, snow, and hail resistant. Withstands winds up to 120 kph / 75 mph and 150 k/m² / 31 lbs./ft² of snow.
  • Self-Assembly: Patio Enclosure arrives ready to assemble with pre-drilled profiles, pre-cut sliding panels and all hardware included. Please read all directions before you begin.
  • Warranty: 10 Year Limited Warranty. Customers responsible for ensuring a perfectly flat, leveled surface site for construction with a solid base (concrete, asphalt, or deck).
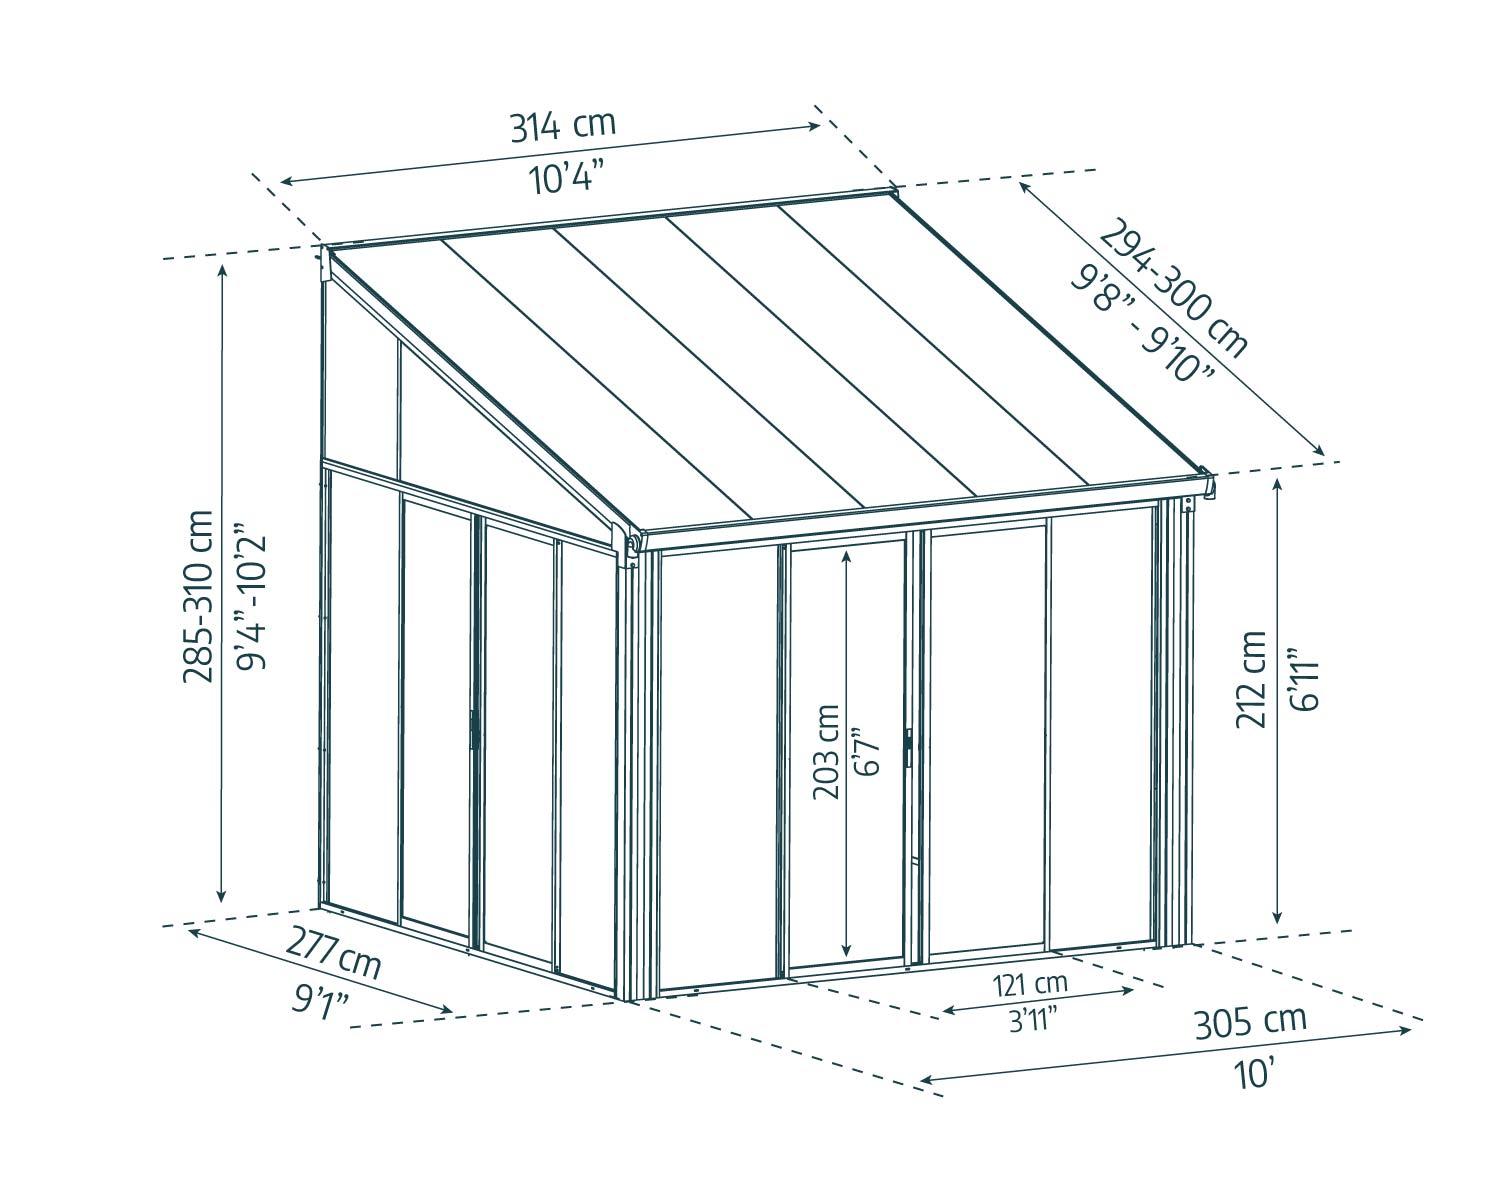
Dimensions

A Length 314cm 10'4"ft
B Width 294-300cm 9'8"-9'10"ft
C Height 285-310cm 9'4"-10'2"ft
D Door Width 121cm 3'11"ft
E Door Height 203cm 6'7"ft

Product Details

Accessories Screen Door Kit White

Enclosed Gazebo Accessories

Check out our certified Canopia accessories

Gutter & Gutter Heads

Built-in gutter system with adjustable gutter heads

Lockable doors

3-double, lockable sliding doors enhance ventilation and allow easy passage Master key for lockable doors included

Rating and Reviews

4.62 (46 Reviews)
Rating Breakdown
0
0
3
12
34
Post a review
Customer Reviews (46)
  1. QuantumQuasar Country: Hungary

    Value-Packed veranda for Every Home

    truly impressive. Its performance and warranty make it a product I'm happy to have chosen.
  2. Cosmic170 Country: Norway

    Reliable Materials

    Its resistance to wind, snow, and hail is a testament to its durability.
  3. QuantumQuirk_13 Country: Switzerland

    Covered Patios: Straight to the Point Solutions

    It has has brought us year-round delight. It's a space we cherish for its versatility and elegance

FAQ

Solutions:
  • Avoid drying clothes inside.
  • Improve ventilation (trickle vents, open windows).
  • Close doors to humid areas (kitchen).
  • Use dehumidifiers or extractor fans.
  • Maintain a consistent temperature (around 18°C).
  • Wipe down condensation regularly.
  • Choose moisture-absorbing plants (Orchids, Peace Lilies, Spider Plants).
It is necessary to have it anchored as per the instructions, Anchoring this product to the ground is essential to its stability and rigidity. It is required to complete this stage in order for your warranty to be valid.
Yes, you can definitely use a heater inside the closed gazebo. Make sure you follow the manufacturer’s safety instructions. Using a heater will allow retention of heat, a suitable heater by Canopia can be found online.
Yes, the Sun Room’s door can be placed on either side. There are no available screens for the Sun Room. The door swings outward.
No, it is not an option, it cannot be performed.
Yes, it can be anchored to concrete. Base or foundation must be flattened, leveled and prepped prior to installing the product. The product must be built on a solid level surface in order to perform properly. We recommend using concrete or wood deck as base. In addition, It is imperative that the ground surface be perfectly flat and leveled and in a 90° angle to the supporting wall.
The structure can support a ceiling fan hanging from it, it can be installed using the beam’s built-in tracks. Please make sure you install the fan and the wiring in a secure way, you may consult with a handyman as to how to attach it to the top.
I am assuming you are referring to a stationary RV. If this is the case, you need to make sure the RV’s size is suitable to the requirements. You will need to find the compatible screws and plugs in order to attach the SanRemo to the RV. In addition the SanRemo requires a solid foundation such as concrete, asphalt etc. and the back is supposed to be attached to a structure wall (such as a house’s wall). Should you attach it to a vehicle; the lower part (where the wheels are) will remain open.
The SanRemo can be installed on a deck and attached to a house with vinyl sidings. Please consult with an expert / constructor with regards to the screws and plugs you should use for your specific wall type and trex deck.
There are screen doors that can be added (to be purchased separately) and these can be installed without removing the existing doors.

Foundation

A
Prepare the site

The product must be built on a solid anleveled surface in order to perform properly.

1 - Clear the site
 
2 - Level the ground
 
 
Important We recommend checking for restrictions or covenants for building this product in your area. In addition we advise to check if you need to submit any forms or if any permit is required prior to building the product.
B
Use the right screws for your surface
① - Concrete / tiled floor & wall
 
② - Wooden surface (floor or wall)
 

The screws and masonry anchors supplied with the kit are suitable for concrete / tiled floor & wall fixing only.

Please consult with an expert regarding which fasteners are suitable for other surfaces types (not supplied).

C
Fit your patio cover dimensions to the site

Attention!
It is imperative that the ground surface be perfectly flat and leveled and in a 90° angle to the supporting wall.

 
Wall mounting height

The wall mounting profile (top back) can be adjusted from 285–310 cm (9’4”–10’2”) measuring from the ground to fit your space.

* Decide what height you would like to mount your product.
This will determine the roof angle.

Please note that while the product appearance may change slightly as a result of that angle, the snow load weight does not change.

Customers who viewed this also viewed

Previous
Next
Need help making a purchase decision?
Fill out the form below and we will help!